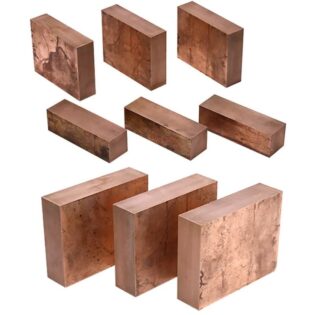
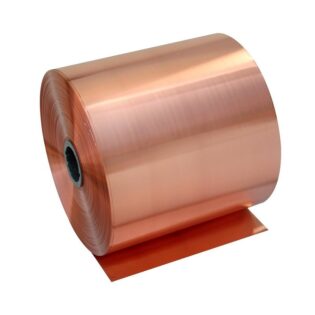
QSn10-0.3 Description
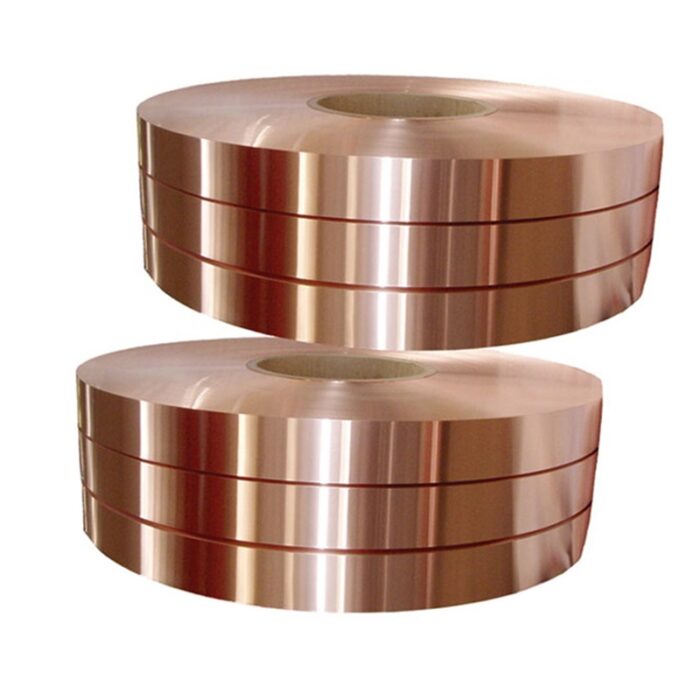
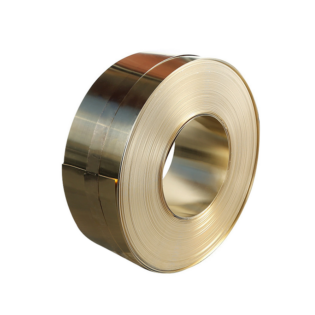
QSn10-0.3 phosphor bronze strip was produced by electromagnetic stirring, horizontal continuous casting, cold finishing rolling and multiple intermediate annealing.
Its ultra-hard tensile strength can reach 1000 ~ 1200 MPa, elongation about 2.5%, which can meet the requirements of some users for high strength and high elasticity strip, and can also partially replace beryllium bronze strip.
Application
The products have good wear resistance and corrosion resistance, good cold processing, excellent welding performance, mainly used for making high-strength super-elastic fatigue resistant parts.
QSn10-0.3 Mainly used in the manufacture of elastic components, wear-resistant parts and anti-magnetic parts in precision instruments, such as spring contact pieces or other springs with good electrical conductivity; various altimeters in the aviation industry, springs for lifting speedometers, connecting rods, etc. , Gears, brush boxes, contactors, etc. in precision instruments.
| |
QSn10-0.3 | |
QSn10-0.3 | |
American standard | C52400 |
Japanese standard | C5191 |
Chemical composition (weight percent) | |
Sn | 9.0-11.0 |
P | 0.03-0.35 |
With | margin |
Sum of impurities | ≤ 0.4 |
Physical properties (room temperature) | ||
Conductivity | 11 | %IACS |
Conductivity | 6.38 | MS/m |
Thermal conductivity | 50 | W/(m.K) |
Thermal expansion coefficient | 18.4 | 10 -6 / K |
Density | 8.78 | g/cm3 |
Elastic Modulus | 110 | GPa |
Specific heat capacity | 380 | J/(g.K) |
Poisson’s ratio | 0.34 | — |
Process performance | |
Cold workability | Good |
Machinability | Generally |
Electroplating | Good |
Hot-dip tinning | Good |
Solderability | Excellent |
Resistance welding | Good |
Mechanical behavior | ||||
State | Tensile Strength ( MPa ) | Elongation ( A 11.3 , % ) | Vickers hardness | |
M | O60 | 400-505 | — | 100-170 |
Y2 | H02 | 525-625 | — | 160-210 |
AND | H04 | 650-750 | — | 200-240 |
T | H06 | 740-840 | — | ≥ 230 |
TY | H08 | 795-890 | — | ≥ 240 |
CTY | H10 | 825-915 | — | ≥ 250 |
Thickness tolerance | ||||||
Thickness ( mm ) | 0.08-0.15 | >0.15-0.20 | >0.2-0.3 | >0.3-0.4 | >0.4-0.6 | >0.6-0.8 |
Tolerance ( mm ) | ± 0.0025 | ± 0.004 | ± 0.005 | ± 0.0075 | ± 0.01 | ± 0.0125 |
Thickness ( mm ) | >0.8-1.2 | >1.2-1.5 | >1.5-2.0 | >2.0-2.6 | >2.6-3.0 | >3.0-4.0 |
Tolerance ( mm ) | ± 0.015 | ± 0.02 | ± 0.025 | ± 0.03 | ± 0.04 | ± 0.05 |
Width tolerance | ||||||
Thickness ( mm ) | 0.08-0.5 | >0.5-1.0 | >1.0-1.8 | >1.8-3.0 | >3.0-4.0 | |
Width and Tolerance (mm) | 5-50 | ± 0.05 | ± 0.08 | ± 0.1 | ± 0.2 | ± 0.3 |
>50-100 | ± 0.075 | ± 0.1 | ± 0.15 | ± 0.2 | ± 0.3 | |
> 100 | ± 0.1 | ± 0.15 | ± 0.2 | ± 0.3 | ± 0.5 |
Glitch | |
Thickness ( mm ) | Edge Burr ( mm ), no greater than |
≤ 0.50 | 0.02 |
>0.50-1.0 | 0.04 |
>1.0-2.0 | 0.05 |
>2.0-4.0 | 0.1 |
Bending performance | ||||
Condition | Minimum Bend Inside Radius ( mm ) | |||
Thickness /t : 0.15-0.30mm | Thickness /t : 0.30-1.0mm | |||
Good direction | Bad direction | Good direction | bad direction | |
O60 | 0 × t | 0 × t | 0 × t | 0 × t |
H02 | 0 × t | 0 × t | 0 × t | 0 × t |
H04 | 2.0 × t | 4.0 × t | 3.0 × t | 5.0 × t |
H06 | — | — | — | — |
H08 | — | — | — | — |
H10 | — | — | — | — |
Surface roughness | |
Ra (μ m ) | ≤ 0.3 |
Side curvature h ( mm/m ) | |||
| Width ( mm ) | Thickness ( mm ) | ||
0.08-0.6 | >0.6-2.0 | >2.0-4.0 | |
≤ 9 | ≤ 1.0 | ≤ 1.0 | — |
>9-13 | ≤ 1.0 | ≤ 1.0 | — |
>13-25 | ≤ 1.0 | ≤ 1.0 | — |
>25-50 | ≤ 1.5 | ≤ 1.0 | — |
>50-100 | ≤ 1.5 | ≤ 1.5 | — |
>100-625 | ≤ 1.5 | ≤ 1.5 | — |
Lateral curvature | |||
Width L ( mm ) | 5-50 | >50-200 | >200-625 |
Transverse curvature h ( mm ), not more than | 0.01 × L | 0.015 × L | 0.02 × L |
Longitudinal flatness (serpentine) | ||
Width ( mm ) | 5-100 | >100-625 |
Longitudinal straightness h ( mm/m ) | ≤ 3 | ≤ 5 |
Twist | |||
width ( mm ) | ≤ 30 | >30-100 | >100-625 |
Torsion (°) | ≤ 10 | ≤ 5 | — |
Warpage | |||
Width ( mm ) | ≤ 100 | >100-300 | >300-625 |
Warpage h ( mm/m ) | ≤ 50 | ≤ 100 | — |
