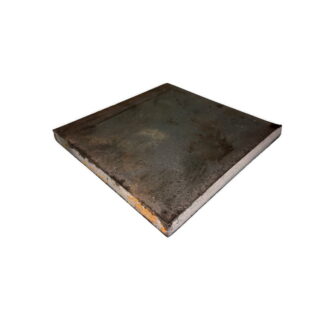
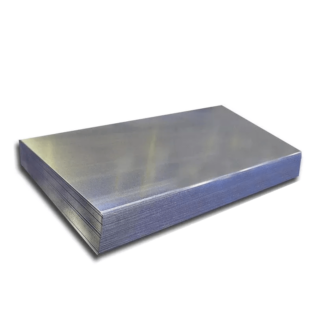
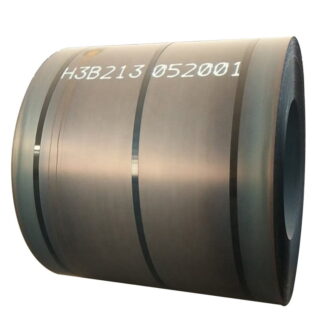
DILLIDUR IMPACT Description
- DILLIDUR IMPACT is a wear resistant steel with a nominal hardness of 340 HBW in delivery condition.
- DILLIDUR IMPACT is not a constructional steel CE-certified according to EN 10025.
- DILLIDUR IMPACT is applied where high resistance to abrasion is required together with high toughness and crack resistance and a good workability.
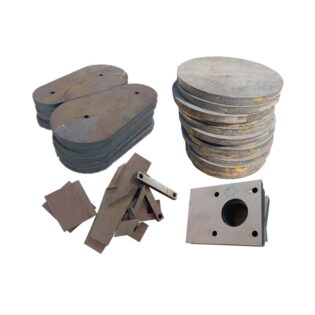
- Examples of application: heavy (welded) wear parts in earth moving, mining, demolition and recycling equipment.
Dillidur Impact Wear Resistant Steel
Dillidur Impact(Dillinger) is a wear resistant steel with a nominal hardness of 340 HBW in delivery condition, whose mechanical properties are obtained by water quenching and subsequent tempering.
- Dillidur Impact is not a constructional steel CE-certified according to EN 10025.
- Dillidur Impact is applied where high resistance to abrasion is required together with high toughness and crack resistance and a good workability.
Examples of application: heavy (welded) wear parts in earth moving, mining, demolition and recycling equipment
Product description
Designation and range of application
The production range of DILLIDUR IMPACT plates is 40 mm to 150 mm (1.6 to 6 in) 1) , please see delivery program. Other dimensions may be possible on request.
DILLIDUR IMPACT Chemical composition
For the chemical composition of the ladle analysis the following limits are applicable (in %):
| C | Si | Mn | P | S | Ni+Cu | Mo | Cr | V | Nb | B |
| ≤ 0.21 | ≤ 0.60 | ≤ 1.80 | ≤ 0.020 | ≤ 0.010 | ≤ 3.0 | ≤ 0.70 | ≤ 1.50 | ≤ 0.09 | ≤ 0.04 | ≤ 0.005 |
Maximum values of carbon equivalent:
| Plate thickness t [mm] | 40 mm ≤ t ≤ 80 mm (1.6 in ≤ t ≤ 3.2 in)1) | 80 mm < t ≤ 150 mm (3.2 in < t ≤ 6 in)1) |
| CEV2) | 0.66 | 0.74 |
| CET3) | 0.40 | 0.43 |
The steel is fully killed and fine grained through sufficient aluminium content.
DILLIDUR IMPACT Delivery Condition
Controlled water quenched and tempered.
1) The values in brackets are for information only.
2) CEV = C + Mn/6 + (Cr + Mo + V)/5 + (Ni + Cu)/15
3) CET = C + (Mn + Mo)/10 + (Cr + Cu)/20 + Ni/40
Mechanical and technological properties in the delivery condition
Hardness
Surface hardness at room temperature: 310 – 370 HBW.
Impact test on Charpy-V-specimen in longitudinal direction at ¼ plate thickness
| Plate Thickness t [mm] | Test Temperature [°C] | Impact energy Av [J] |
| 40 ≤ t ≤ 150 (1.6 in ≤ t ≤ 6 in)1) | -40 (-40 °F)1) | 30 (22 ft.lb.)1) |
The specified minimum value is the average of 3 tests. Only one individual value is permitted to be below this minimum value, and no more than 30%.
DILLIDUR IMPACT Testing
Brinell surface hardness tests according to EN ISO 6506-1 are performed on a ground surface 0,5 mm – 2,0 mm (0.02 to 0.08 in)1) below plate surface.
The impact tests are performed according to EN 10045-1 on Charpy-V test specimen taken in longitudinal direction at ¼ plate thickness.
Brinell surface hardness tested once per heat and 40 t (metric tons).
Charpy tests are carried out once per heat.
Unless otherwise agreed, the test results are documented in an inspection certificate 3.1 in accordance with EN 10204.
Indicative values of mechanical-technological properties
The following typical properties for t = 90 mm (3.5 in)1) are for information only:
- ReH = 950 MPa (138 ksi)1)
- Rm = 1000 MPa (145 ksi)1)
- Elongation A5 = 15 %
In spite of their high tensile properties, DILLIDUR steels are not intended for safety relevant components.
For this purpose high strength steels DILLIMAX are available.
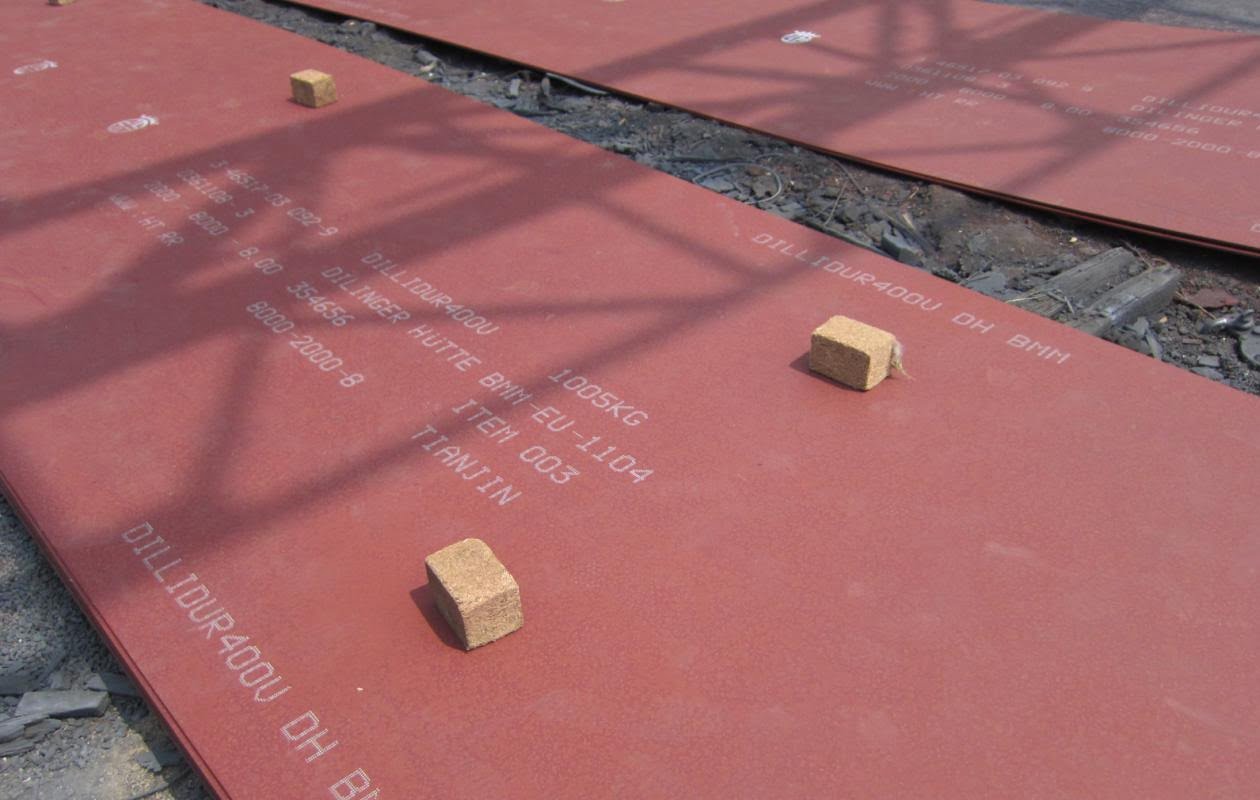
Identification of plates
Unless otherwise agreed, the marking is carried out with low stress steel stamps with at least the following information:
- steel grade (DILLIDUR IMPACT)
- heat number
- number of mother plate and individual plate
- the manufacturer’s symbol
- authorized inspection representative’s sign
1) The values in brackets are for information only.
The entire processing and application techniques are of fundamental importance to the reliability of the products made from this steel. The user should ensure that his design, construction and processing methods are aligned with the material, correspond to the state-of-the-art that the fabricator has to comply with and are suitable for the intended use. The customer is responsible for the selection of the material.
The recommendations in accordance with EN 1011-2 (Welding) and CEN/TR 10347 (Forming) as well as recommendations regarding job safety in accordance with national rules should be observed while considering the higher strength and hardenability.
Cold forming
Cold forming means forming at temperatures below or equal 500°C (932 °F)1). DILLIDUR IMPACT is suitable for cold forming taking its high hardness into account. Flame cut or sheared edges in the bending area should be grinded before cold forming.
Cold forming of DILLIDUR IMPACT should be carried out according to the following recommendations, where t is the plate thickness:
| Minimum bending radius | Minimum die opening | |
| Transverse direction | 3 t | 9 t |
| Longitudinal direction | 4 t | 12 t |
During the processing, the necessary security measures have to be taken, so that nobody will be exposed to a danger by a possible fracture of the work piece during the forming process.
DILLIDUR IMPACT Hot forming
If the temperature of 500 °C (932 °F)1) is exceeded, the initial tempering will be altered so that the mechanical properties are affected. To regain the initial properties new quenching and tempering become necessary. However, water quenching of a formed work piece or component will often be less effective than the original quenching in the plate mill so that the fabricator may not be able to reestablish the properties required and therefore hot forming is not suitable.
Finally, it is the fabricator’s responsibility to obtain the required values of the steel through an appropriate heat treatment.
DILLIDUR IMPACT Flame cutting and welding
DILLIDUR IMPACT can be flame cut. For flame cutting, the following minimum preheating temperatures should be respected: 50 °C (122 °F)1) for plate thicknesses from 40 up to 70 mm (1.6 to 2.8 in)1) and 100 °C (212 °F)1) for thicker plates.
Slow cooling after flame cutting and /or subsequent heating of the flame cut edge is beneficial for reducing detrimental stress concentration, especially for higher plate thickness.
DILLIDUR IMPACT can be welded with all conventional arc welding methods. Welding of DILLIDUR IMPACT requires special care due to its high hardness. Please consult EN 1011-2. Keep the surface dry and clean and use consumables with a low hydrogen content (type HD< 5 ml / 100 g in accordance with ISO 3690). Use filler metals as soft as the loading of the construction and wear allow for. Because of the large plate thickness of DILLIDUR IMPACT, a minimum preheat and interpass temperature of 150°C (302°F)1) shall be respected.
DILLIDUR IMPACT Heat treatment
If a stress relieving temperature has to be considered, please contact the producer. The properties may be altered by a stress relief heat treatment.
1) The values in brackets are for information only.
DILLIDUR IMPACT Machining
DILLIDUR IMPACT can be machined with HSS-drills and especially with HSS-Co-alloyed drills with a satisfactory service life if the drill advance and cutting speed are correspondingly accommodated.
General technical delivery requirements
Unless otherwise agreed, the general technical requirements in accordance with EN 10021 are applicable.
DILLIDUR IMPACT Tolerances
Unless otherwise agreed, tolerances are in accordance with EN 10029 class A for the thickness and table 4, steel group H for the maximum flatness deviation.
DILLIDUR IMPACT Surface quality
Unless otherwise agreed, the surface will be in accordance with EN 10163-2, class A2.
DILLIDUR IMPACT General note
If special requirements, which are not covered in this specification, are to be met by the steel due to its intended use or processing, these requirements are to be agreed before placing the order.
The information in this specification is a product description.
